

How to Trim Dog Nails Safely at Home Step-by-Step
Most American city dog owners struggle to keep their pups comfortable and stylish when winter hits. Urban life means slippery sidewalks, cold weather, and less time outdoors, often leading to overgrown nails and restless pets. Keeping your dog’s nails trimmed is not just about appearance—it can prevent paw injuries on icy streets and make every walk more enjoyable. Discover the top expert tools and cozy accessories designed for safe nail care and winter comfort, helping your dog thrive in any frosty city environment.
Table of Contents
- Step 1: Gather Essential Dog Nail Trimming Tools
- Step 2: Create a Comforting Environment for Your Dog
- Step 3: Inspect and Prepare Your Dog’s Paws
- Step 4: Trim Dog Nails with Care and Precision
- Step 5: Check Nails and Offer Rewards for Cooperation
Quick Summary
| Key Point | Explanation |
|---|---|
| 1. Gather the right tools | Use professional-grade nail clippers and grinders tailored for your dog’s size and nail type. |
| 2. Create a calm environment | Choose a quiet, familiar space to make your dog feel safe and reduce anxiety during trimming. |
| 3. Inspect paws for health | Examine your dog’s paws for cuts or discomfort to ensure a safe and effective nail trimming. |
| 4. Trim nails with caution | Trim carefully in small increments, always watching for the quick to prevent injury. |
| 5. Reward for good behavior | Offer immediate positive reinforcement after trimming to create a positive association with the process. |
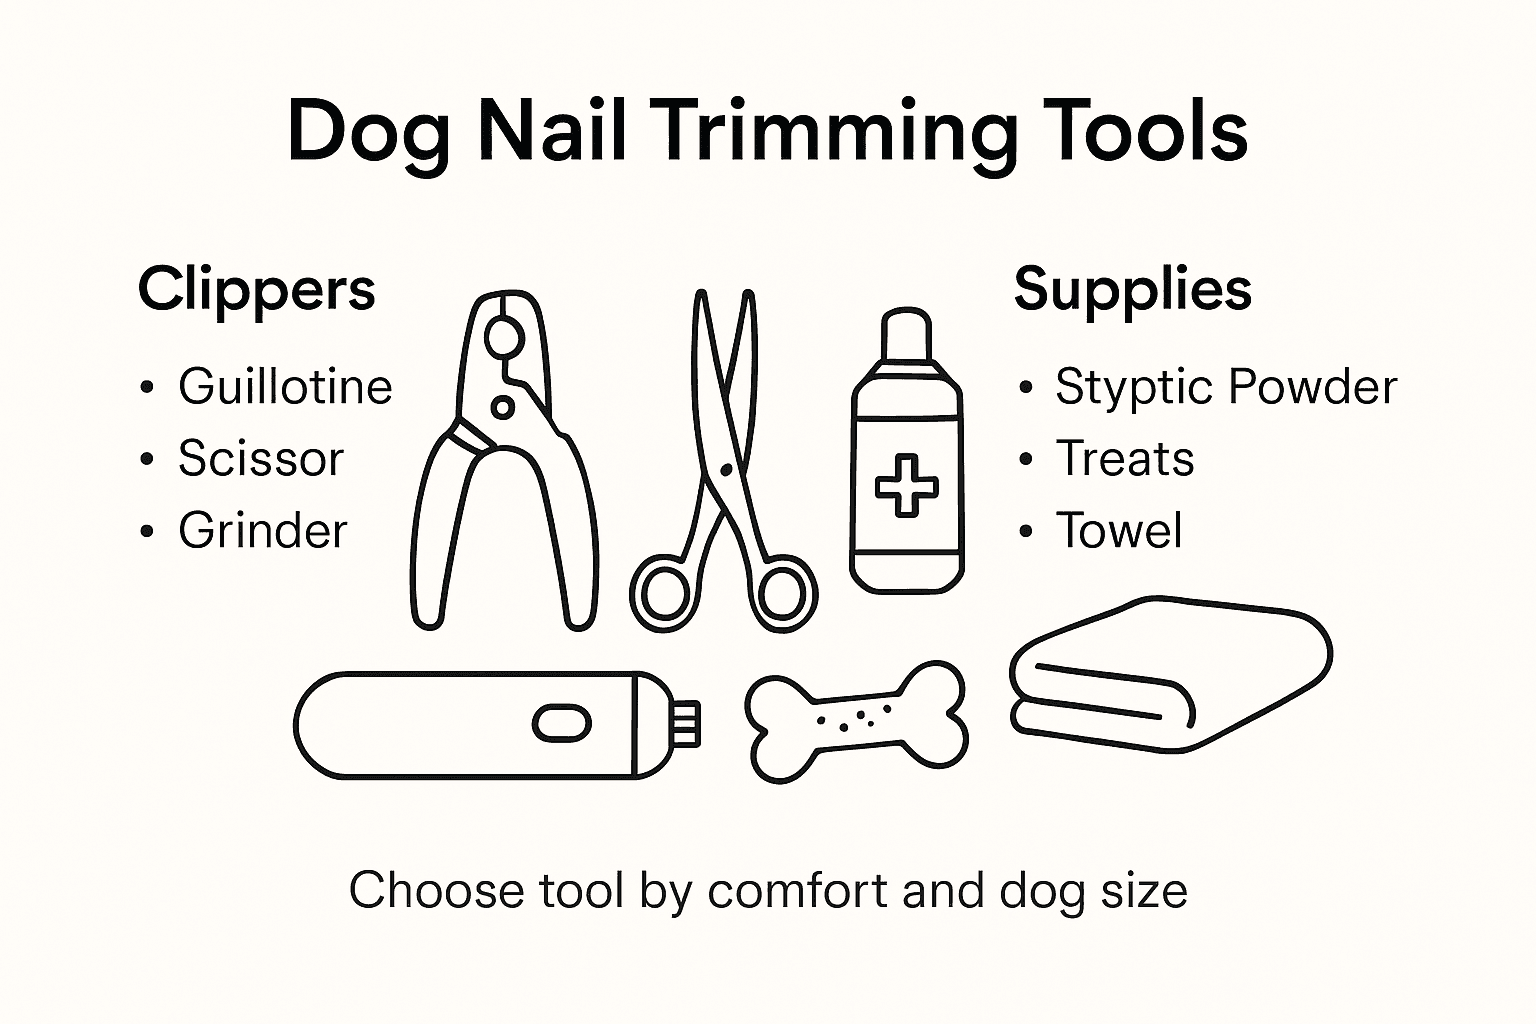
Step 1: Gather Essential Dog Nail Trimming Tools
Trimming your dog’s nails at home starts with selecting the right grooming tools. Proper equipment ensures a safe and stress-free nail trimming experience for both you and your furry friend. Choosing the right nail clippers or grinders is critical to preventing potential injury and maintaining your dog’s paw health.
Your essential nail trimming kit should include professional-grade nail clippers specifically designed for dogs. These tools come in two primary styles: scissor-type clippers and guillotine-style clippers. Select a clipper that matches your dog’s size and nail thickness. For dogs with thicker nails or those who are nervous about traditional clippers, a nail grinder can provide a gentler alternative. Look for tools with comfortable grips and safety guards to help prevent accidental cuts into the sensitive quick of the nail.
Besides nail clippers, gather some additional helpful supplies like styptic powder to stop bleeding in case of minor cuts, treats for positive reinforcement, and a towel to help secure your dog during the trimming process. Having all your tools prepared and within reach will make the nail trimming experience smoother and less stressful.
Here’s a concise comparison of common dog nail trimming tools:
| Tool Type | Best For | Key Benefit | Potential Drawback |
|---|---|---|---|
| Scissor-style clipper | Medium-large dogs | Easy to control cut | May crush thick nails |
| Guillotine-style clipper | Small-medium dogs | Quick single motion | Harder to use on thick nails |
| Nail grinder | All sizes, thick nails | Smooth, gradual filing | Noisy, may need acclimation |
Pro tip: Consider practicing handling your dog’s paws and the trimming tools several days before the actual nail trimming to help your pet become more comfortable with the process.
Step 2: Create a Comforting Environment for Your Dog
Preparing a calm and supportive setting is crucial for successful nail trimming. Your goal is to make your dog feel safe and relaxed during this potentially stressful grooming process. Creating a positive environment starts with understanding your dog’s emotional state and approaching the task with patience and care.
Begin by selecting a quiet space where your dog feels secure and comfortable. Choose a location with good lighting and minimal distractions, such as a familiar room or a calm corner of your home. Spend time gently handling your dog’s paws in the days leading up to nail trimming to help them become more accustomed to touch. Use soft speaking tones and offer plenty of treats to create positive associations with paw handling. Some dogs might feel more relaxed when placed on a comfortable surface like a soft blanket or their favorite bed during the nail trimming process.
Consider timing your nail trimming session when your dog is naturally calm or slightly tired. After a walk or play session can be an ideal time, as your dog will likely be more relaxed and less energetic. Keep the initial sessions short and always prioritize your dog’s comfort level. If your dog shows signs of stress, take a break and try again later, gradually building their confidence and trust.
Pro tip: Practice short paw touching exercises during relaxed moments like cuddle time to help your dog become more comfortable with handling before actual nail trimming.
Step 3: Inspect and Prepare Your Dog’s Paws
Preparing for nail trimming begins with a thorough paw inspection to ensure your dog’s comfort and safety. Understanding how to properly examine your dog’s paws is crucial for preventing potential grooming complications and maintaining their overall paw health.
Start by gently holding your dog’s paw and carefully examining each pad and nail. Look for any signs of cuts, swelling, foreign objects, or unusual discoloration that might indicate an underlying issue. Check between the toes and paw pads for small stones, thorns, or matted fur that could cause discomfort during nail trimming. If you notice any redness, swelling, or wounds, it may be best to postpone nail trimming and consult with your veterinarian.
Before trimming, clean your dog’s paws with a soft damp cloth to remove dirt and debris. This not only helps you get a clear view of the nails but also provides an opportunity to check for any skin irritations or potential health concerns. Softly massage the paws to help your dog relax and become comfortable with handling. If your dog seems anxious, take breaks and offer treats to create a positive association with paw handling and grooming.
Pro tip: Keep a small flashlight nearby to help illuminate your dog’s nails, making it easier to identify the quick and avoid accidental cuts during trimming.
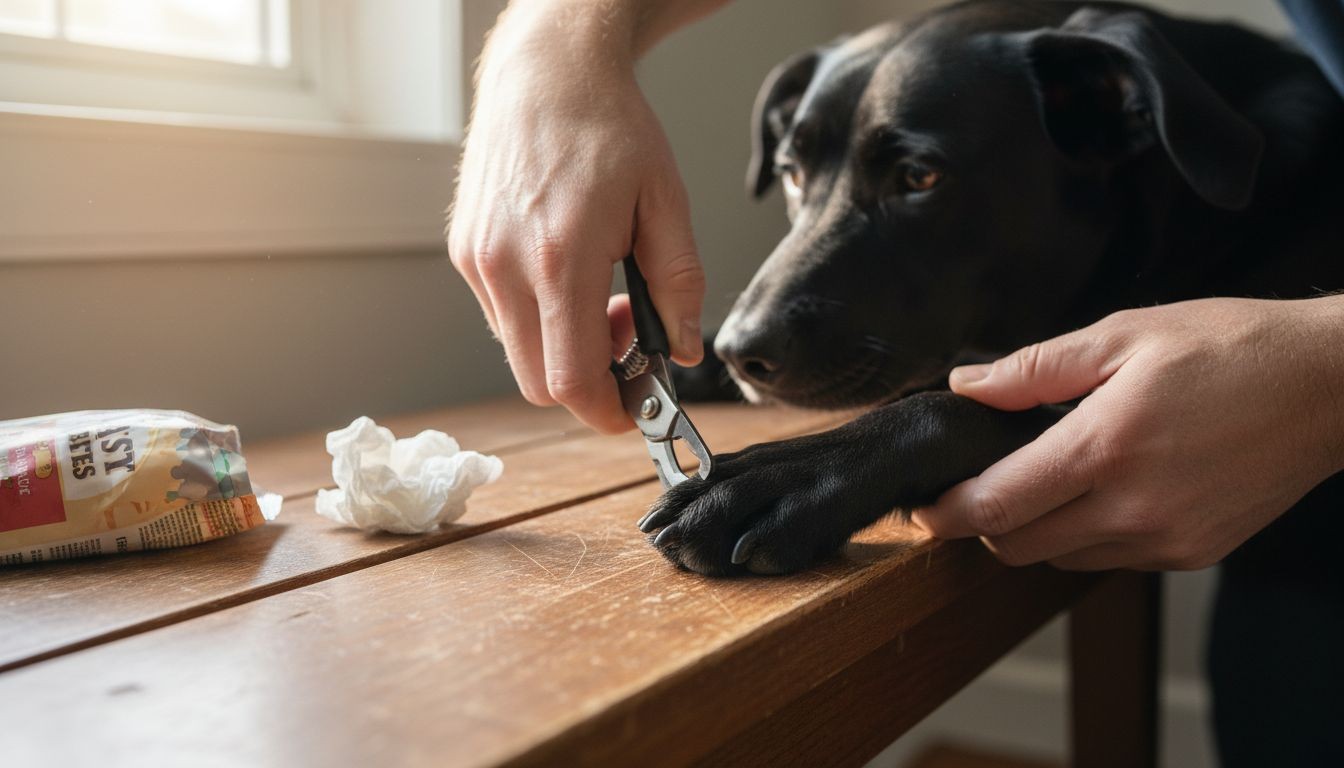
Step 4: Trim Dog Nails with Care and Precision
Nail trimming requires a steady hand and careful technique to ensure your dog remains comfortable and safe throughout the process. Cutting dog nails involves precise movements that minimize the risk of injury to the sensitive quick, which can cause pain and bleeding if accidentally cut.
Position your dog comfortably and hold their paw gently but firmly. For light colored nails, you can see the pink quick clearly, which helps guide your trimming. With darker nails, trim conservatively in small increments, removing tiny slices at a 45 degree angle that follows the natural nail curve. Always cut in the direction of nail growth and stop immediately if you see a grayish or pink oval appearing in the nail center, which indicates you are approaching the quick. Some dogs have nails that grow at different rates, so examine each nail individually and adjust your approach accordingly.
If you accidentally cut into the quick and bleeding occurs, remain calm. Apply styptic powder or cornstarch directly to the nail tip to help stop bleeding. For dogs with high anxiety or extremely long nails, consider using a nail grinder instead of clippers, which can provide a smoother, more gradual nail reduction with less stress. Take breaks if your dog becomes uncomfortable, and always reward their patience with treats and gentle praise.
Pro tip: Practice identifying the quick by examining your dog’s nails in good lighting before attempting to trim, which will help build your confidence and precision.
Step 5: Check Nails and Offer Rewards for Cooperation
After completing the nail trimming process, your final task is to carefully inspect your dog’s nails and celebrate their patience. Thoroughly checking each nail and rewarding cooperation helps create a positive association with future grooming sessions, making subsequent trimmings easier and less stressful.
Carefully examine each trimmed nail to ensure there are no jagged edges or uneven cuts that might cause discomfort. Run your fingers gently over the nail tips to feel for smoothness and check that you have not cut too close to the quick. Look for any signs of bleeding or sensitivity, and address them immediately with styptic powder if needed. This careful inspection helps prevent potential nail snagging or future discomfort for your dog.
Immediate positive reinforcement is key to making nail trimming a successful experience. Offer high value treats your dog loves immediately after the trimming session, using an enthusiastic and happy tone of voice. Choose treats that are special and only given during nail trimming to make the experience more exciting. Some dogs might appreciate extra cuddles, a favorite toy, or a short play session as additional rewards. Consistency in rewarding will help your dog view nail trimming as a positive interaction rather than a stressful event.
Here’s a summary of essential rewards after trimming:
| Reward Type | Timing | Example | Motivation Level |
|---|---|---|---|
| High-value treat | Immediate | Freeze-dried meat | Very motivating |
| Extra cuddle | After session | Belly rub | Comfort and bonding |
| Favorite toy | End of session | Tug toy | Fun, positive association |
| Short playtime | Post-trim | Fetch game | Builds excitement |
Pro tip: Keep a small bag of extra special treats specifically reserved for nail trimming to create a unique and exciting reward your dog will look forward to.
Keep Your Dog Comfortable and Safe During Nail Trimming with FurFamilyClub
Trimming your dog’s nails at home can be challenging when your dog feels anxious or uncomfortable. The article highlights the importance of creating a calming environment, using the right tools, and rewarding your dog to make nail care safer and less stressful. At FurFamilyClub, we understand how vital comfort and reassurance are for your pet, especially during grooming sessions. From cozy winter apparel like jackets and sweaters to soft pet beds and calming accessories, our selection helps your dog feel secure and relaxed before and after nail trimming.

Transform grooming time into bonding time with premium products designed for your dog’s comfort and safety. Explore our collection of stylish and functional pet gear at FurFamilyClub and prepare your furry friend for every trim with confidence. Don’t wait to give your pet the cozy support they deserve. Visit us now and discover how the right gear can make all the difference in your dog’s grooming routine.
Frequently Asked Questions
How do I choose the right nail clippers for my dog?
Selecting the appropriate nail clippers depends on your dog’s size and nail thickness. For medium to large dogs, consider scissor-style clippers, while guillotine-style clippers work well for small to medium breeds. Ensure they are professional-grade for the best results.
What should I do if I accidentally cut my dog’s quick while trimming their nails?
If you accidentally cut into the quick and cause bleeding, remain calm and apply styptic powder to the nail tip immediately. This will help stop the bleeding quickly and prevent discomfort for your dog. Always keep this powder on hand during grooming sessions.
How can I make my dog comfortable during the nail trimming process?
To create a comfortable environment, choose a quiet area and handle your dog’s paws gently before the trimming session. Use treats and soothing tones to build positive associations with nail trimming, and ensure the trimming is done when your dog is calm, like after a walk.
What steps should I follow for a successful at-home nail trimming session?
Begin by gathering all necessary tools, then prepare your dog’s environment to be calm and secure. Inspect their paws, trim carefully with precise cutting to avoid the quick, and follow up with rewards for cooperation to create a positive experience.
How often should I trim my dog’s nails at home?
Typically, you should trim your dog’s nails every 3 to 4 weeks to maintain their health and comfort. Monitor their nails regularly, as some dogs may need trimming more frequently, especially if they are active and walk on hard surfaces.
Recommended
- Best Dog Grooming Tools and Grooming Tips | Furfamilyclub
- Pet Grooming & Health Guide | Complete Home Care for Dogs & Cats – Furfamilyclub
- Pet Nail Groomer Pro - Gentle & Effective Grooming Tool | Furfamilyclub
- Professional Pet Grooming Scissors Set | Stainless Steel Tools – Furfamilyclub
- Professional Pet Nail Clippers with LED Light – Safe Grooming Scissors – Pawfect Picks


